MONTEX: TUTORIAL: JAK MALOWAĆ ZNAKI


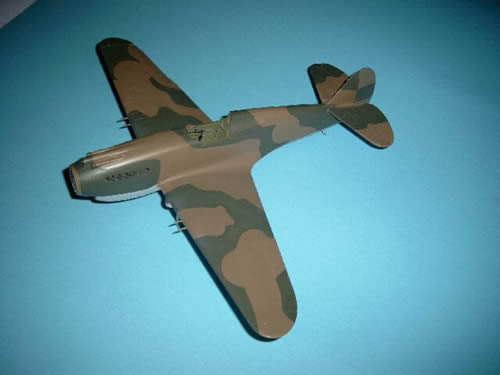
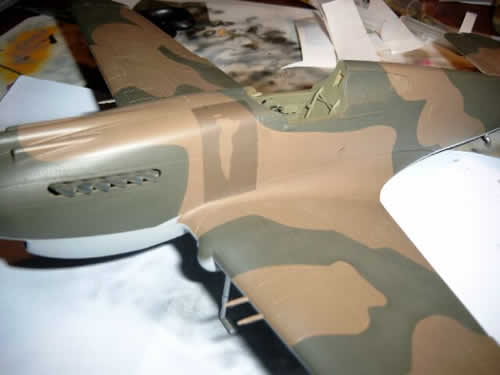
The model is covered with a camouflage. Put the stencils on the model when the paint is completely dry. |
 |
We stick the white background of the division emblem stencil. The foils glue is strong enough to position the stencil several times. It should be remembered, however, not to stretch or move the foil on the model to avoid damaging it. It is better to remove it and reposition it again. |
 |
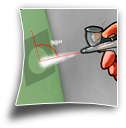
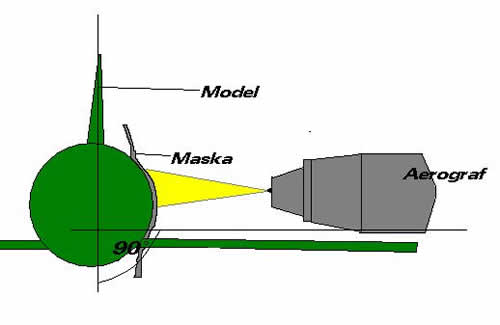
The graph shows the right position of the aerograph. The paint should be sprayed perpendicularly to the painted surface. The thickness of the paint should be carefully chosen to allow for immediate drying after reaching the surface. A thick paint may form the so called thresholds, and a thin one can seep under the stencil. |
 |
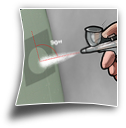
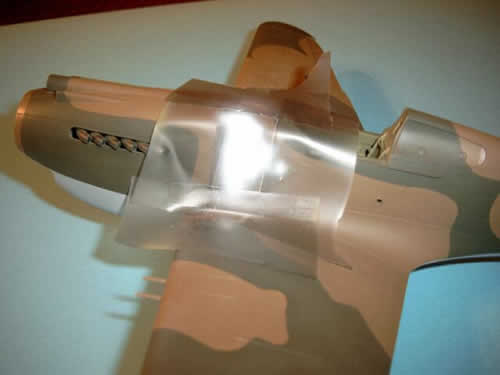
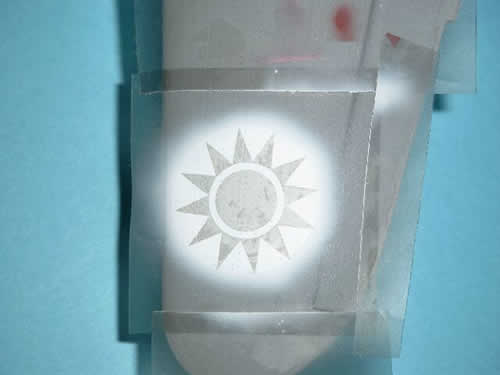
The white background is ready. It should be remembered to cover the surface of the model around the stencil, so as not to spoil the model with sprayed paint. |
 |
The foil and the stencil removed. The background of the emblem. |
 |
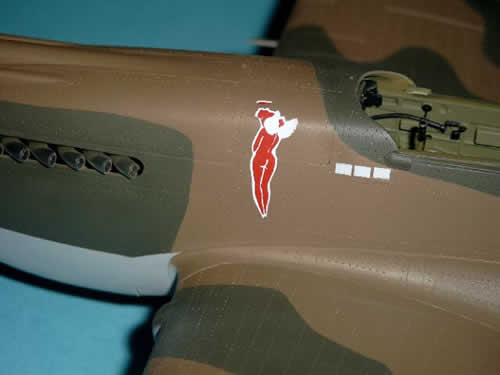
The finished emblem. White background has been covered with a stencil and painted with red paint. |
 |
The painting of the identification emblems should be started with the brightest colours. |
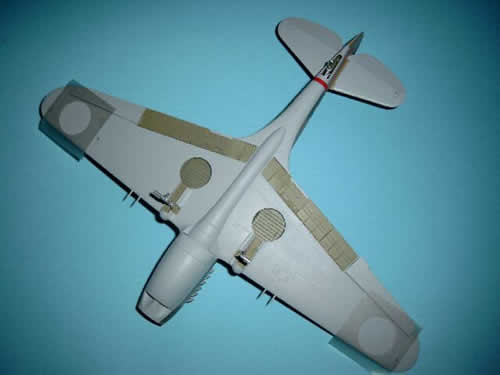 |
Similarly to the division emblem, we cover the area around the stencil. |
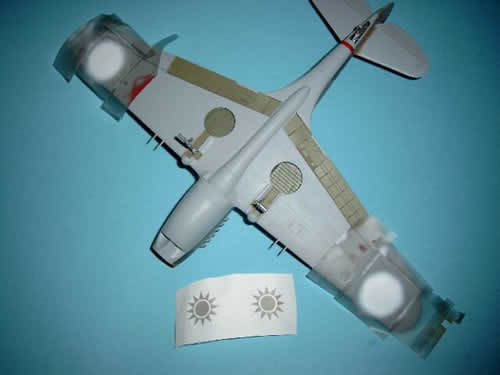 |
In case of large emblems, such as concentric signs, we may use additional stripes to help us stick the whole stencil on the model at one go. |
 |
After painting the white background we stick the part of the stencil which is to remain white. |
 |
Spraying the blue paint. |
 |
The final effect. |
 |
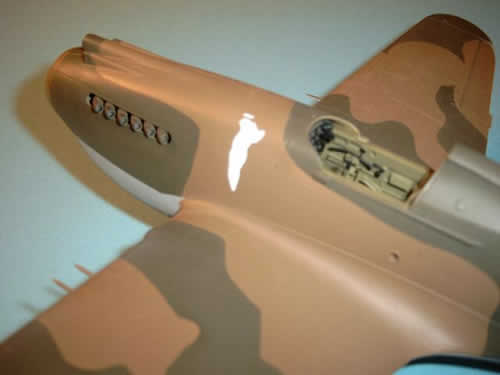
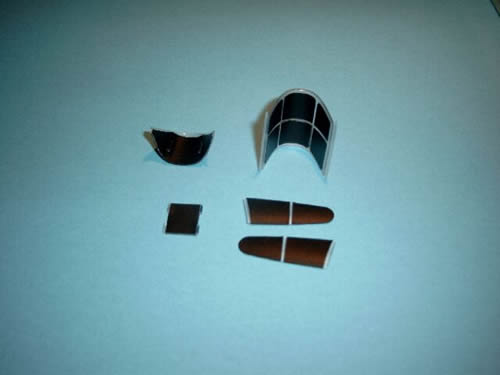
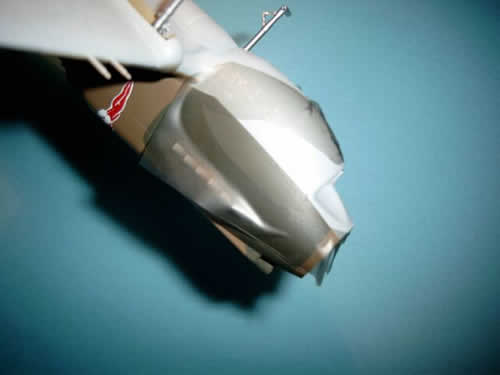
Each of our sets contains masks for painting the glazing of the cabin. |
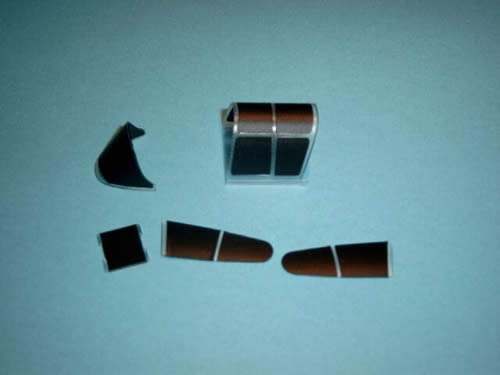 |
Our masks also allow for protecting the inner part of the glazing. |
 |
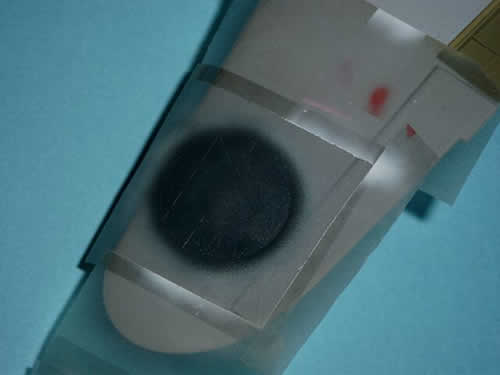
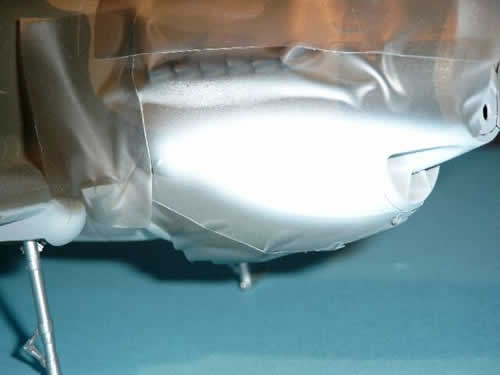
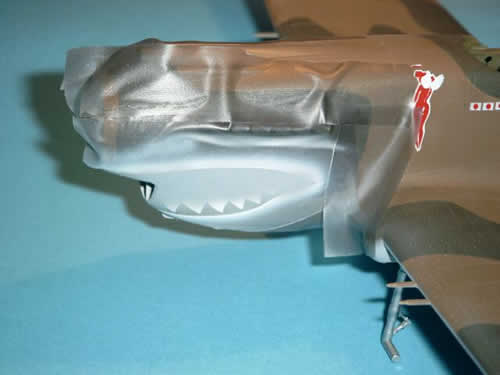
The first step in painting the jaw is positioning of the mask for white colour, which creates the shape of the whole image at the same time. |
 |
A few layers of the paint should be sufficient to cover the surface of the jaw with white colour. Intervals between spraying the following layers are necessary to allow for drying. |
 |
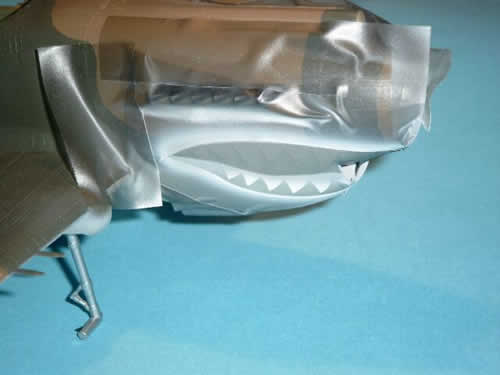
After complete drying of the white paint, a stencil masking white teeth should be put in place. |
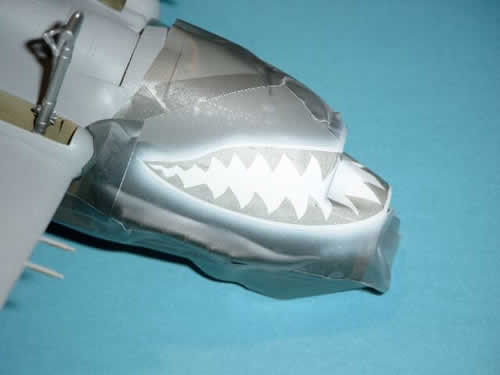 |
Applying grey paint filling the jaw. |
 |
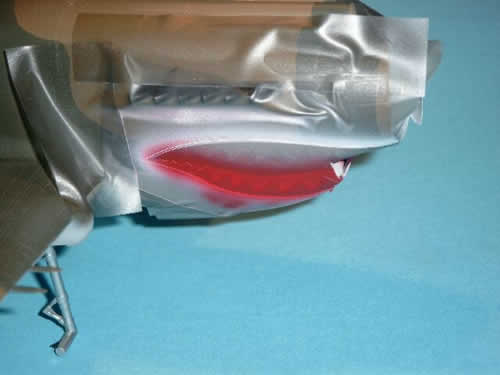
Positioning the mask on grey layer. |
 |
Filling the inside of the jaw with red. |
 |
Protecting the whole jaw before painting a black fringe. |
 |
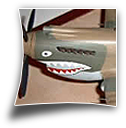
The complete jaw with the fringe after removing the stencils. |
 |
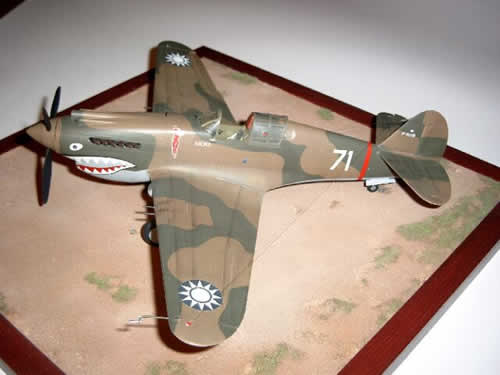
The final effect: the model on a stand. The application of masks and precision in spraying requires a lot of experience and practice, but the final effect great resemblance of the model to the original is worth sacrificing a few hours. |
 |