MONTEX: TUTORIAL: JAK MALOWAĆ ZNAKI
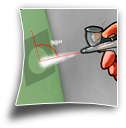


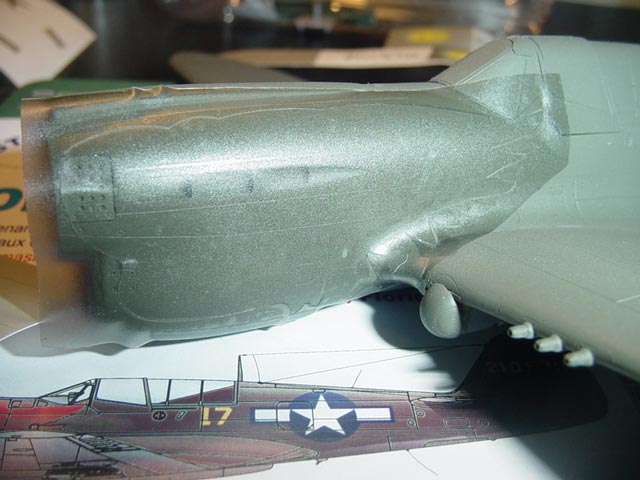
Step 1 |
 |
|
 |
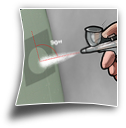
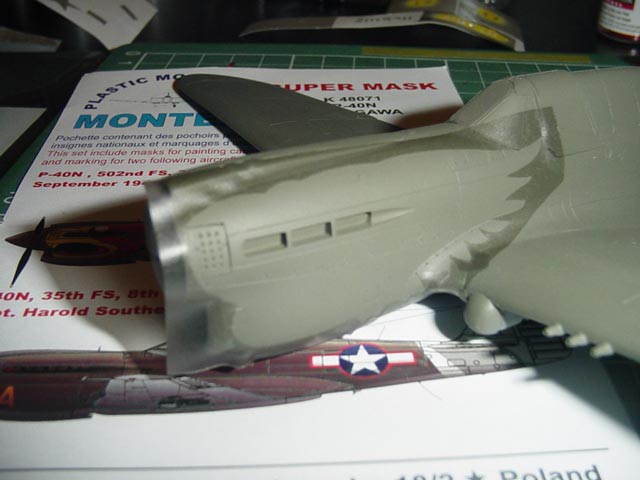
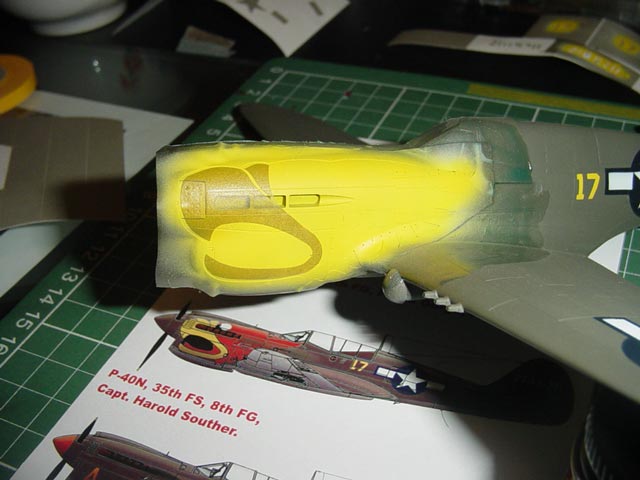
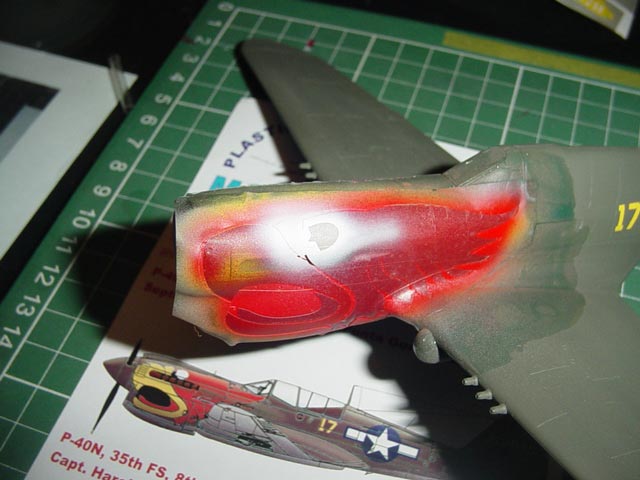
Step 3 |
 |
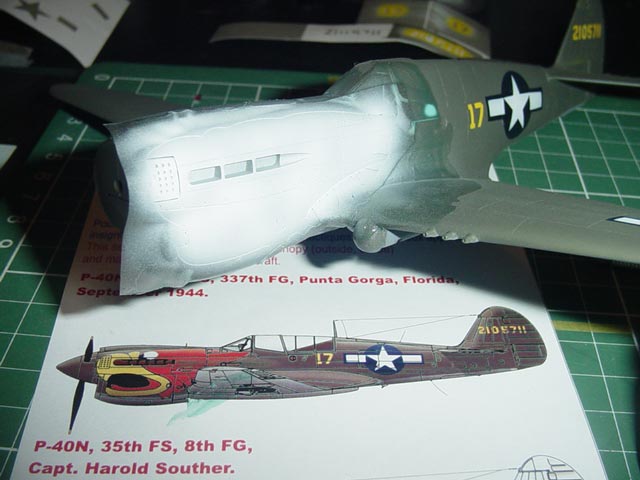
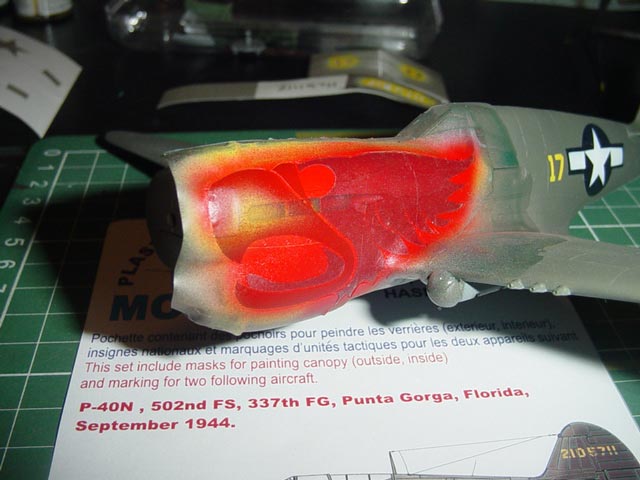
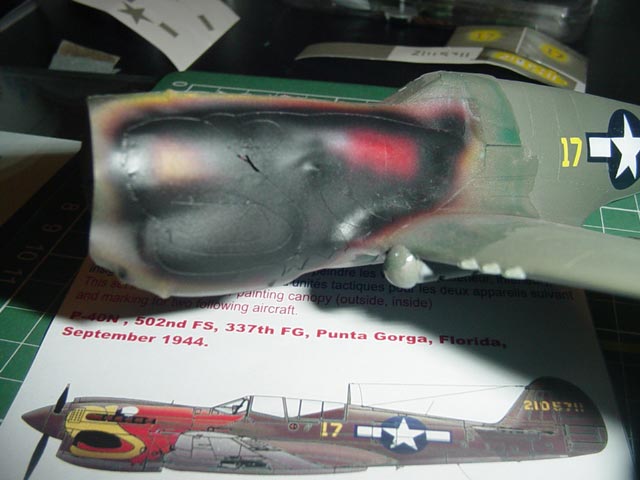
Step 4 |
 |
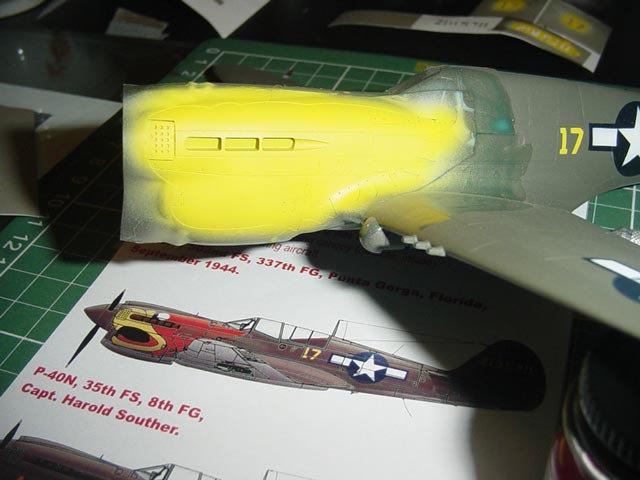
Step 5 |
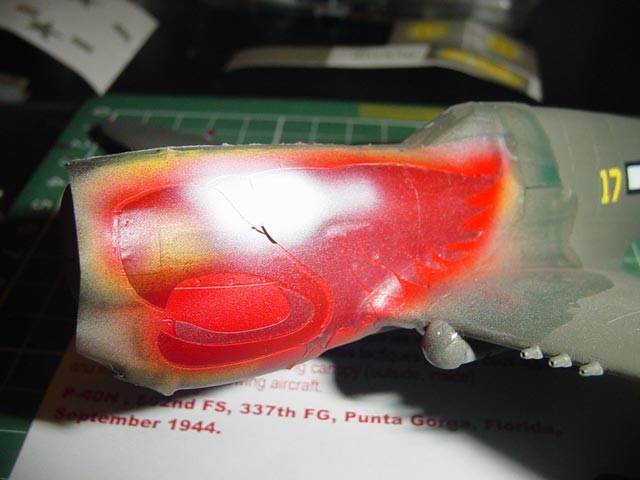 |
Step 6 |
 |
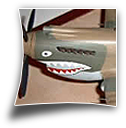
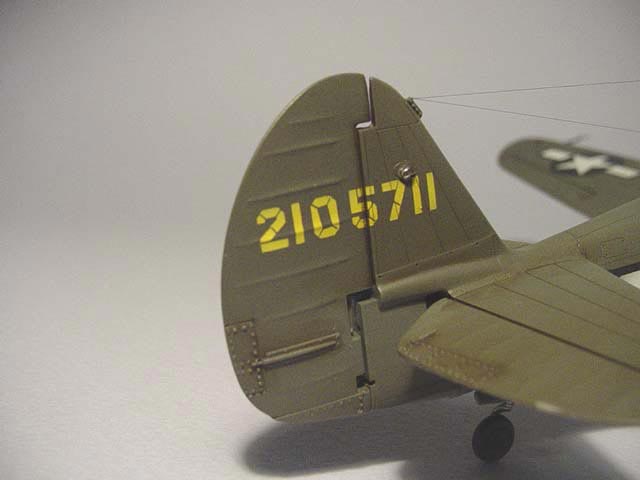
And this is what I saw after ungluing all the masks and stencils |
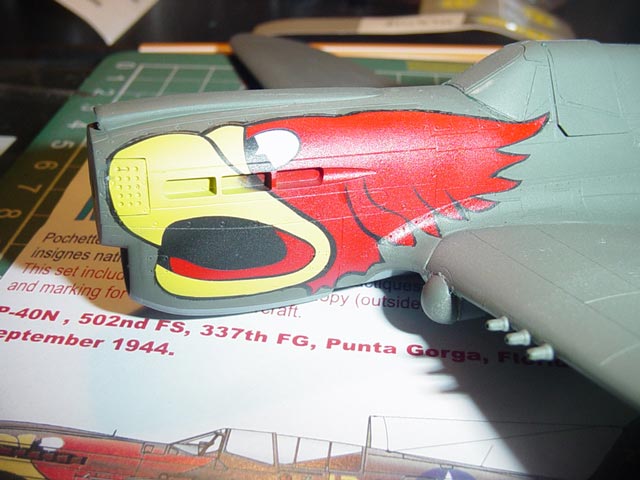 |